 info@coddy.ca
Published on May 13, 2023, 8 p.m.
5 min
Roblox
I'm Riley from CODDYCA School, and welcome to our beginner's guide to ROBLOX Studio for kids! We'll introduce you to the primary interface of ROBLOX Studio, show you how to use the Workspace to add and manipulate objects and explain how to use essential tools and scripts. By the end of this guide, you'll learn what's inside a ROBLOX game!
What is Roblox Studio?
ROBLOX Studio is a game development platform where players can create their own games, experiences, and virtual worlds! With ROBLOX Studio, users can use various tools and assets to create unique games and share them with others on the ROBLOX platform.
In addition, there are customizable scripts that enable developers to give things unique behaviors and actions. For example, users can add, edit, and delete objects, change their properties such as size, color, and material, and use various tools to move, resize, and rotate objects.
The Basic Interface
When you first open ROBLOX Studio, you'll notice different interface parts, such as the Explorer, Properties, and Toolbox windows.
- Explorer Window: This window shows all the objects in your game and their hierarchy. You can click on things in Explorer to select them and then edit their properties in the Properties window.
- Properties Window: Selecting an Object within the Explorer displays its properties, such as size, color, and material. You can edit these properties to customize your things.
- Toolbox Window: This window contains various tools and assets you can use to create objects in your game. You can search for specific free items to design your game.
The Workspace
The Workspace is where you'll add and manipulate objects to create your game. To add a new object to the Workspace, select it from the Toolbox window or right-click in the Explorer window and choose "Insert Object."
Once you have objects in your Workspace, you can use tools like Move, Scale, and Rotate to change their position, size, and orientation.
If you can’t find something, click the “View” tab at the top of the interface, you can select how you want to design your ROBLOX Studio’s interface by adjusting this.
Basic Tools
Let's explore some essential tools in ROBLOX Studio that you can use to manipulate objects in the Workspace:
- Select Tool: Use this unique tool to choose and manipulate parts of your game.
- Move Tool: Use this move tool to move an object in any direction. Click and drag the arrows that appear around the object to move it.
- Scale Tool: The scale tool allows you to resize an object uniformly or along a single axis. Click and drag the handles that appear around the object to change its size.
- Rotate Tool: Rotate objects around their center or a specific axis using this tool. Click and drag the circles that appear around the object to rotate it.
Scripts
Scripts bring your game to life by giving objects behaviors and actions. For instance, you can use a hand to make an object move or react when a player interacts with it.
To create a new script, follow these simple steps:
- First, Right-click in the Explorer window, and then choose "Insert Object" -> "Part" to add a new part to your game.
- Next, right-click on the part you just created in the Explorer window, and select "Insert Object" -> "Script" to add a script to the part.
- Finally, double-click the “Script” to access the components inside.
Now, you can write some basic code for your script that makes the part do different things.
The script accesses the Part’s touched function, checking if a player touched the object. When touching the part, the color will change to red.
Conclusion
It's time to start experimenting and creating your games! Remember to have fun, be creative, and don't be afraid to make mistakes. If you want to learn more and take your skills to the next level, consider joining one of the ROBLOX coding classes at CODDYCA school.
https://coddy.ca/courses/roblox-coding/
We'd love to help you become a game developer. Happy building!
Upskill you Knowledge
4 min
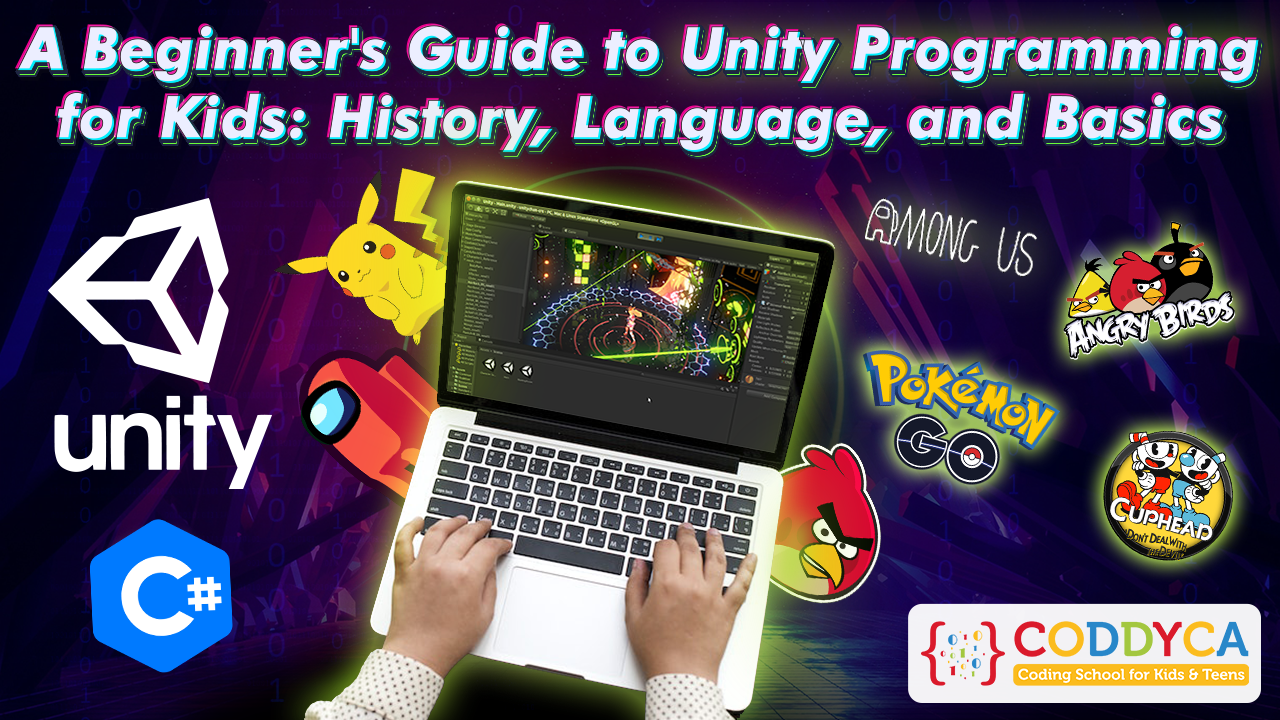
Unity
Unity programming for kids is an exciting way to introduce them to the world of game development. Unity is a powerful engine that allows users to create 2D and 3D games, simulations, and interactive experiences. Here's a brief history of Unity and some basic concepts that kids can learn to start coding with Unity.

1 min
Python
In today's digital age, it's important for kids to learn programming. It not only develops problem-solving skills, but also opens up opportunities for future careers in technology. And when it comes to choosing a starter programming language for kids, Python coding for kids is a popular choice.
8 min
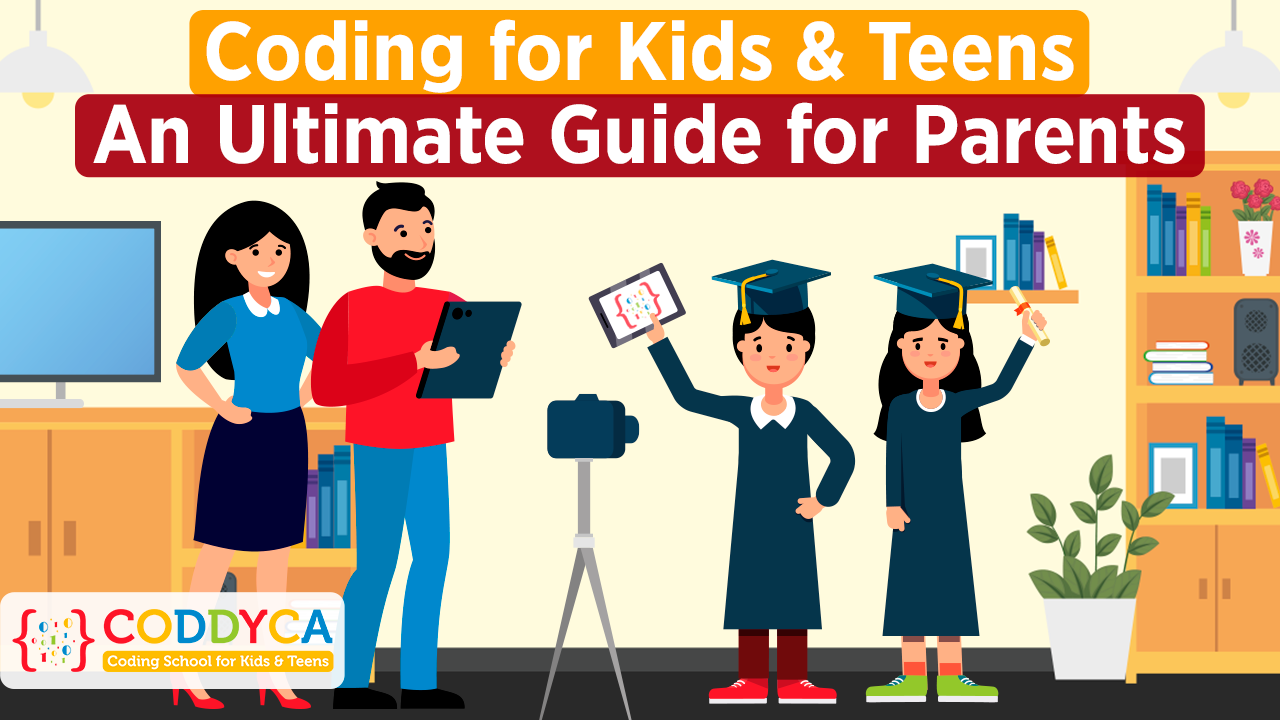
Coddyca
Does your child play video games all the time? Yes, it’s a little bit annoying. But what if your kid will not just play games all the time but will create them? You’ll probably say yes, that’s such a great idea, I don’t want my child to play games all day long. But how can a child learn to program?
3 min
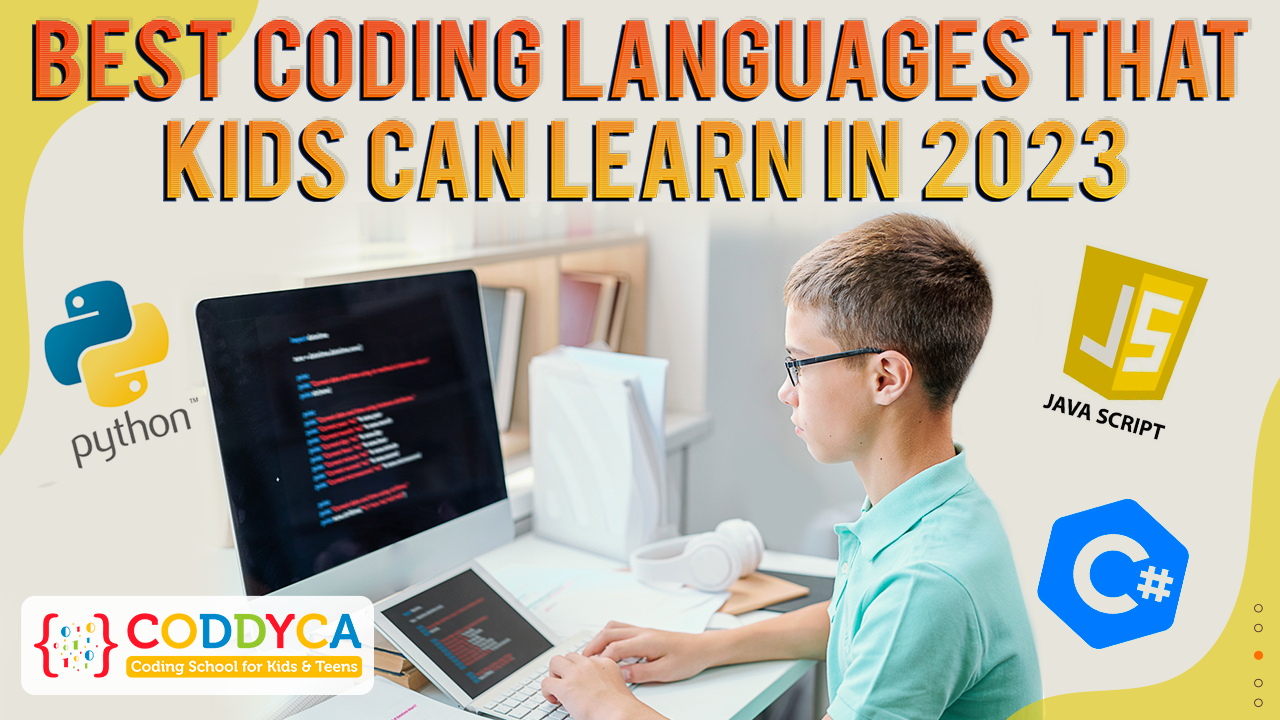
Python
Coding languages are revolutionizing the way that kids learn and interact with technology. They provide an opportunity for children to gain a deep understanding of how computers work and create exciting projects. In this article, we will look at the top coding languages that kids should focus on learning in 2023.
2 min
Coddyca
Many parents are wondering where to enroll their child so that they do not spend days playing computer games. But what if this passion for games turn in the right direction? Namely, to teach the child to create their own games. It's learning about 21st century technology, and it's also fun!
6 min
Roblox
Roblox provides an engaging platform for kids to not only learn coding skills but also create their own virtual worlds. With its user-friendly interface and diverse activities, Roblox enables children to learn the basics of coding while also having fun with their friends.